phoneicon

Sales and Aftercare

01842 751633

cart-icon

My Cart

Items: 0 items
Value: £0.00

user-icon

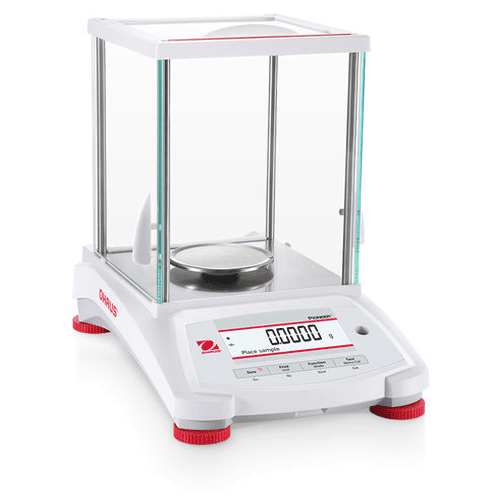
Ohaus Pioneer Analytical Balance

Our Price: £1,344.00£1,664.00 + VAT (£1,612.80 - £1,996.80 inc VAT)

Combining Economy And High Performance For Essential Weighing

Do you require a calibration certificate – traceable to National Standards?

Price: £35

Description

Affordable Balance to Achieve Reliable Results

The Pioneer PX combines essential weighing functionality with competitive performance, offering high accuracy and repeatability for applications in laboratory, industrial and education settings.  The PX is affordably priced, intuitively designed for intelligent operation with a second line display
for additional information, and USB and RS-232 connectivity for easy communication.

Unique Features Include:

• The PX offers high accuracy and repeatability for essential weighing applications in laboratory, industrial and education settings at an economical price point.
• Featuring a cast metal lower housing, sub-pan and stainless steel weighing pan, the PX is durably constructed for versatile, long-term use.
• Pioneer features a second line display for additional information or guidance, a static removal bar for convenient grounding, and USB connectivity.

Multiple Application Modes:

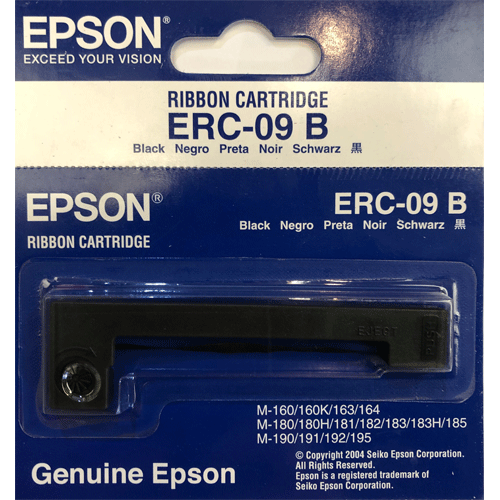
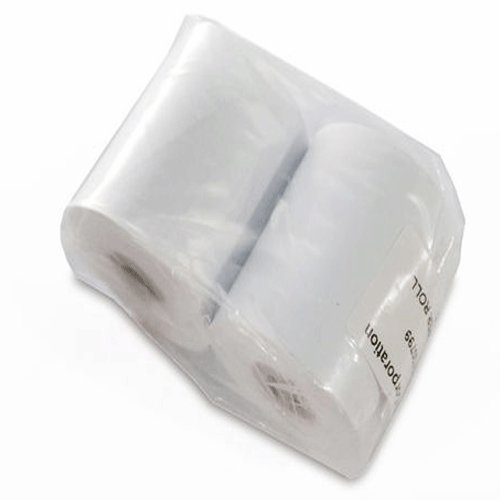
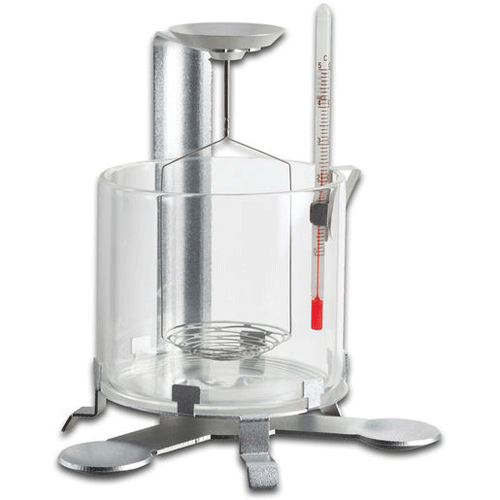
The PX features six standard modes including Weighing, Parts Counting, Percent Weighing, Dynamic Weighing, Density Determination and Formulation. Equipped with USB and RS232 connectivity ports, the PX allows for easy communication with a PC, impact printer or a Zebra label printer.

GLP/GMP and Password Protection:

A real-time clock (RTC) keeps accurate time, even during power loss. GLP/GMP data output capability allows for sample name, project, user and balance IDs to be recorded, helping to meet traceability and compliance requirements.  Password protection reduces the potential risk of accidental or unauthorized changes in balance settings such as date and time, external calibration, print settings etc.

Applications:  Basic Weighing, Parts Counting, Percent Weighing, Animal Weighing, Density Determination, Formulation</div

Display:  Backlit Liquid Crystal Display (LCD); Second line display for additional information or guidance (dot matrix)

Operation:  AC adapter (included)

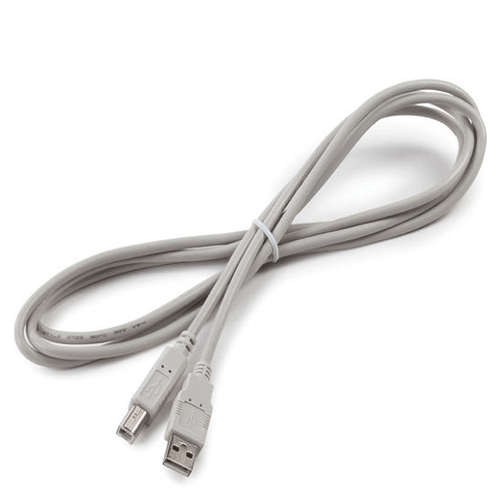
Communication:  RS232 and USB device (included); GLP/GMP data output with real-time clock

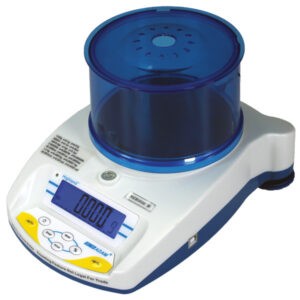
Construction:  Metal base, plastic top housing, removable stainless steel pan, glass draftshield, integrated weigh-below-hook, security bracket, calibration lock and in-use cover

Design Features:  User-selectable environmental filters and brightness settings, auto-tare, auto-dim, user-selectable span calibration points, software lockout and reset menu, user selectable communication settings and data print options, user-definable project and user IDs, software overload/underload indicator, stability indicator, four operating languages

Compliance:

• Metrology (PX…M… models only): EN 45501; OIML R76
• Product Safety: IEC/EN 61010-1; CAN/CSA C22.2 61010-1; UL 61010-1
• Electromagnetic Compatibility: IEC/EN 61326-1 Class B, basic environments; FCC Part 15 Class A; Canada ICES-003 Class A
• Compliance Marks: CE; CSASee datasheet for full product information

Downloads

PDF-Download

We endeavour to deliver your goods to you as fast as we can. A large percentage of our orders are delivered in 3 - 5 working days (all mainland UK postcodes except IV, AB and KW) but some goods can take longer if they are delivered direct from the manufacturer or if the item is made to order. Please note, IV, AB and KW postcodes and non-mainland UK including Northern Ireland can take longer. Please give us a call if your order is urgent to verify the delivery time or see if a faster delivery is possible (additional costs may apply for larger orders).

The following delivery charges may apply per order:
  • £6.00 + VAT – Mainland UK
  • £30.00 + VAT – UK non-mainland

Reviews

There are no reviews yet.

Be the first to review “Ohaus Pioneer Analytical Balance”

Your email address will not be published. Required fields are marked *

Key Accessories


Frequently Asked Questions

Please see below for answers to frequently asked questions.

A calibration certificate proves the accuracy of your weighing equipment. It is very likely that if accuracy matters in your workplace, certification will be required by your industry regulators. They are straightforward to get hold of though. Just ask our team.

If you are trading or transacting anything by weight, you will probably need to demonstrate your weighing equipment is verified for trade use. This gives your customers confidence in your business and will make sure buying and selling run smoothly. We can help get you with relevant approvals for your equipment.

The answer will vary depending on how your equipment is used. As a minimum, we typically recommend once a year but our team can provide advice based on your individual circumstances.

The International Organization of Legal Metrology (OIML) has established standards for the classification of calibration test weights. Varying from E0 & E1, which are the most accurate to M2 which are commonly used for calibrating platform scales, floor scales and other industrial weighing instruments.

As a rough guide we have listed desired accuracy against class below.

+/- 0.1% – UNclassed Proof Load Test Weights
+/- 0.05% – M3 (Check/calibrate coarse scales)
+/- 0.005% – M1 (Check/calibrate standard scales)
+/- 0.0015% – F2 (Check/calibrate portable balances)
+/- 0.0005% – F1 (Check/calibrate precision balances)
+/- 0.00015% – E2 (Check/calibrate analytical balances)

The choice of weight class depends on the intended use and the level of accuracy required for a particular application. If you’re unsure, talk to our team who can advise you on the right class for your equipment.

If you’re sending a scale back to us for recalibration, it is ideal to use the original packaging. If this is not available choose a sturdy well-padded box to avoid shocks. Where possible, protect the load sensor by removing the weighing pan and any under-pan support and pack these separately in the box. You may be able to use the equipment’s locking pins or screws too.

Do ensure all the paperwork, including your contact details, is included to ensure we can return it once calibration is complete.

Need help? Speak to one of our experts Contact Us

Sign up To Our Newsletter
For Exclusive Deals & news!

Right Menu Icon